Using Too Many WordPress Plugins

Using Too Many WordPress Plugins

Using Too Many WordPress Plugins

Discover how to manage plugins properly and why using too many WordPress plugins could slow down your website. In this post, we will explore the function of plugins, the problems resulting from plugin overload, and useful advice on running your plugins. Maintaining a quick, safe, and effective website depends on knowing the effects of too many plugins, regardless of your level of experience with PHP.

Although improving your WordPress site depends on plugins, too many might slow it down and lead to additional problems. This tutorial will clarify the effects of too many plugins and offer ideas on efficiently managing them.

Table of Contents

The Role of Plugins in WordPress

Features added to your WordPress website depend on plugins. They let you personalize your site without much knowledge of codes. Popular plugins include social media integrations, security upgrades, and SEO tools. To learn more, read our Guide to Installing and Using WordPress Plugins.

Plug-in extensions expand WordPress essential capabilities, making this platform flexible enough for many kinds of websites. Most site owners depend on basic plugins like contact forms and caching tools, which are absolutely indispensable.

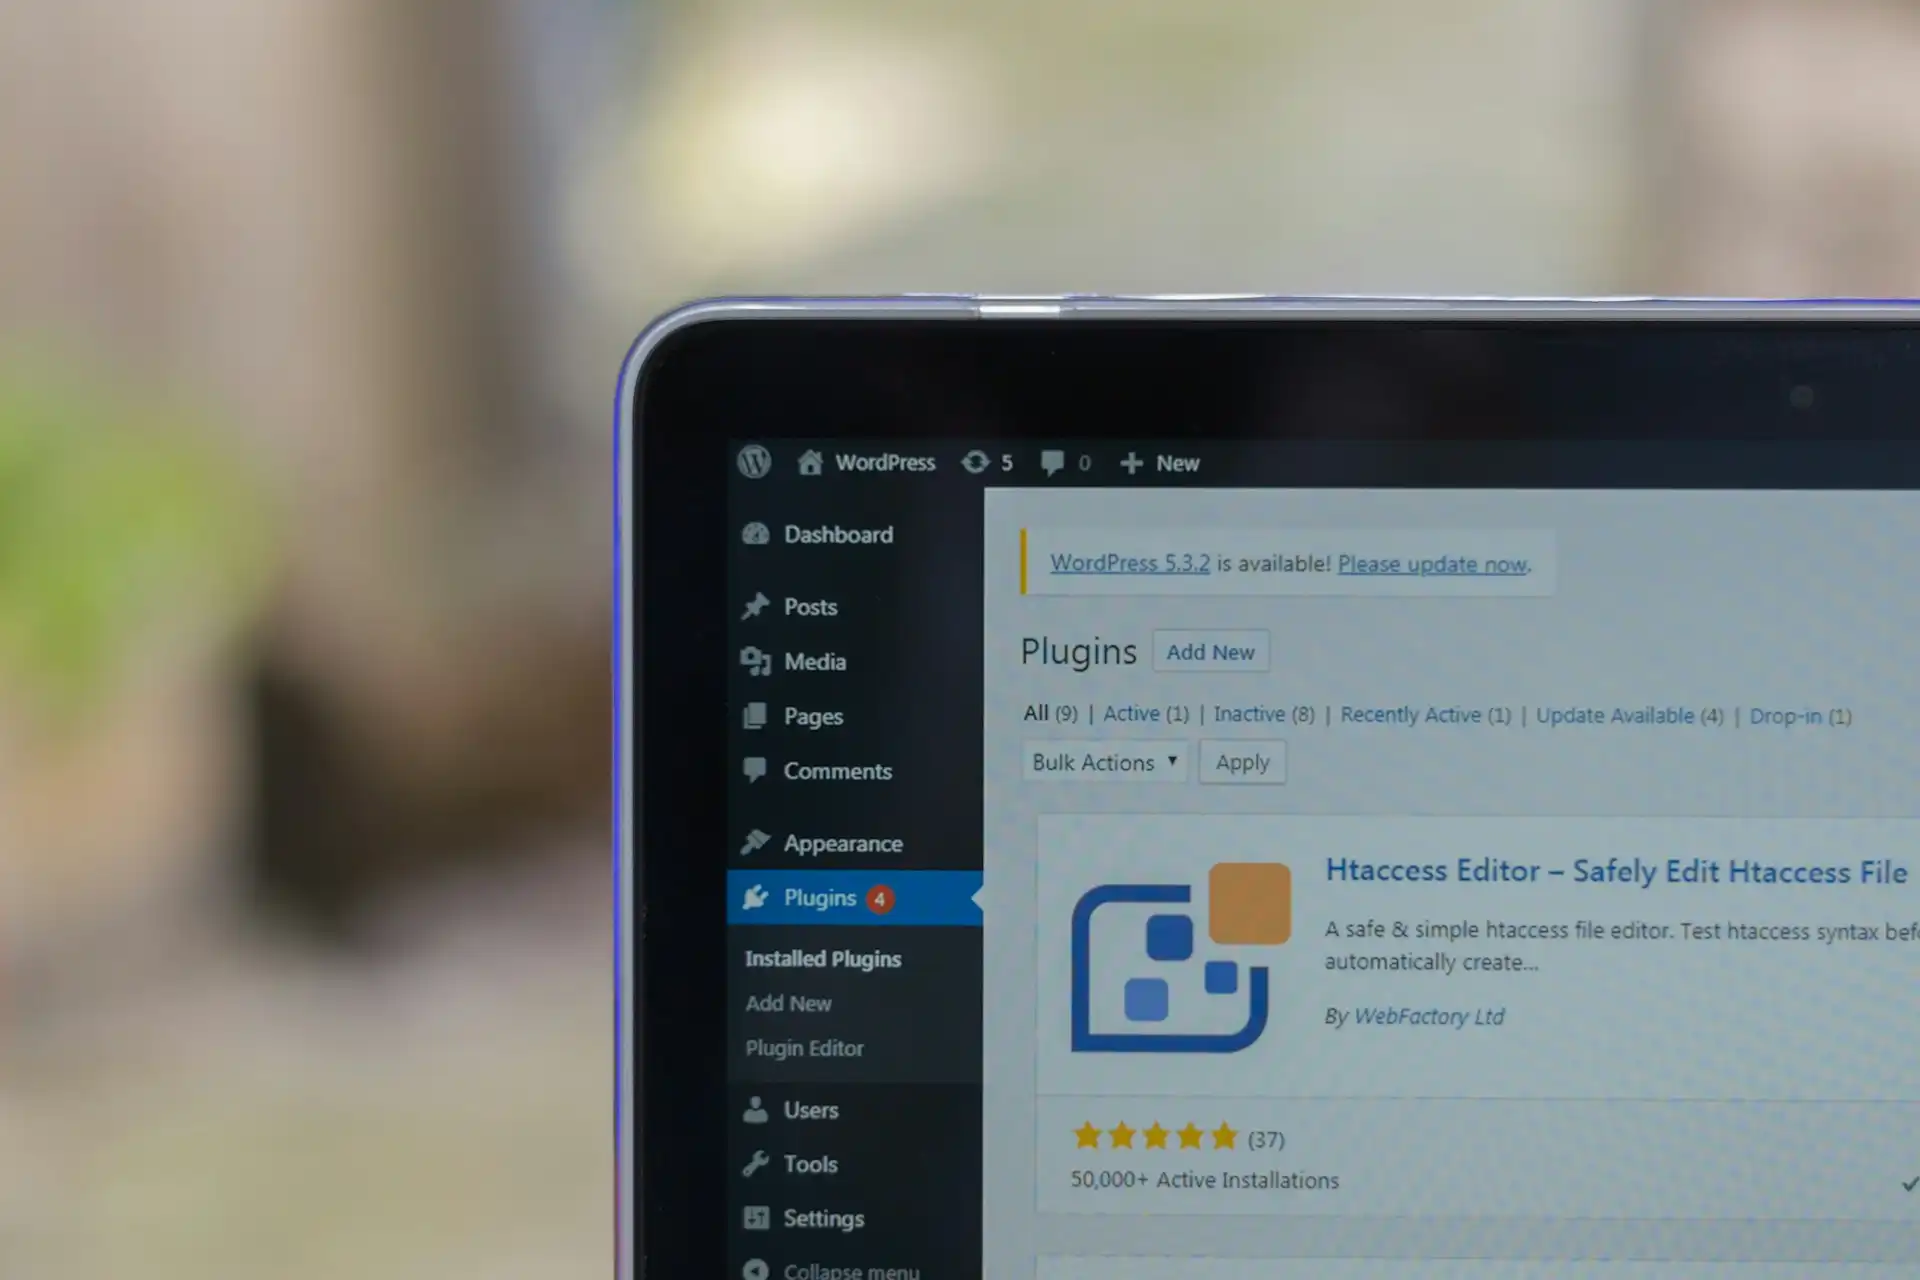
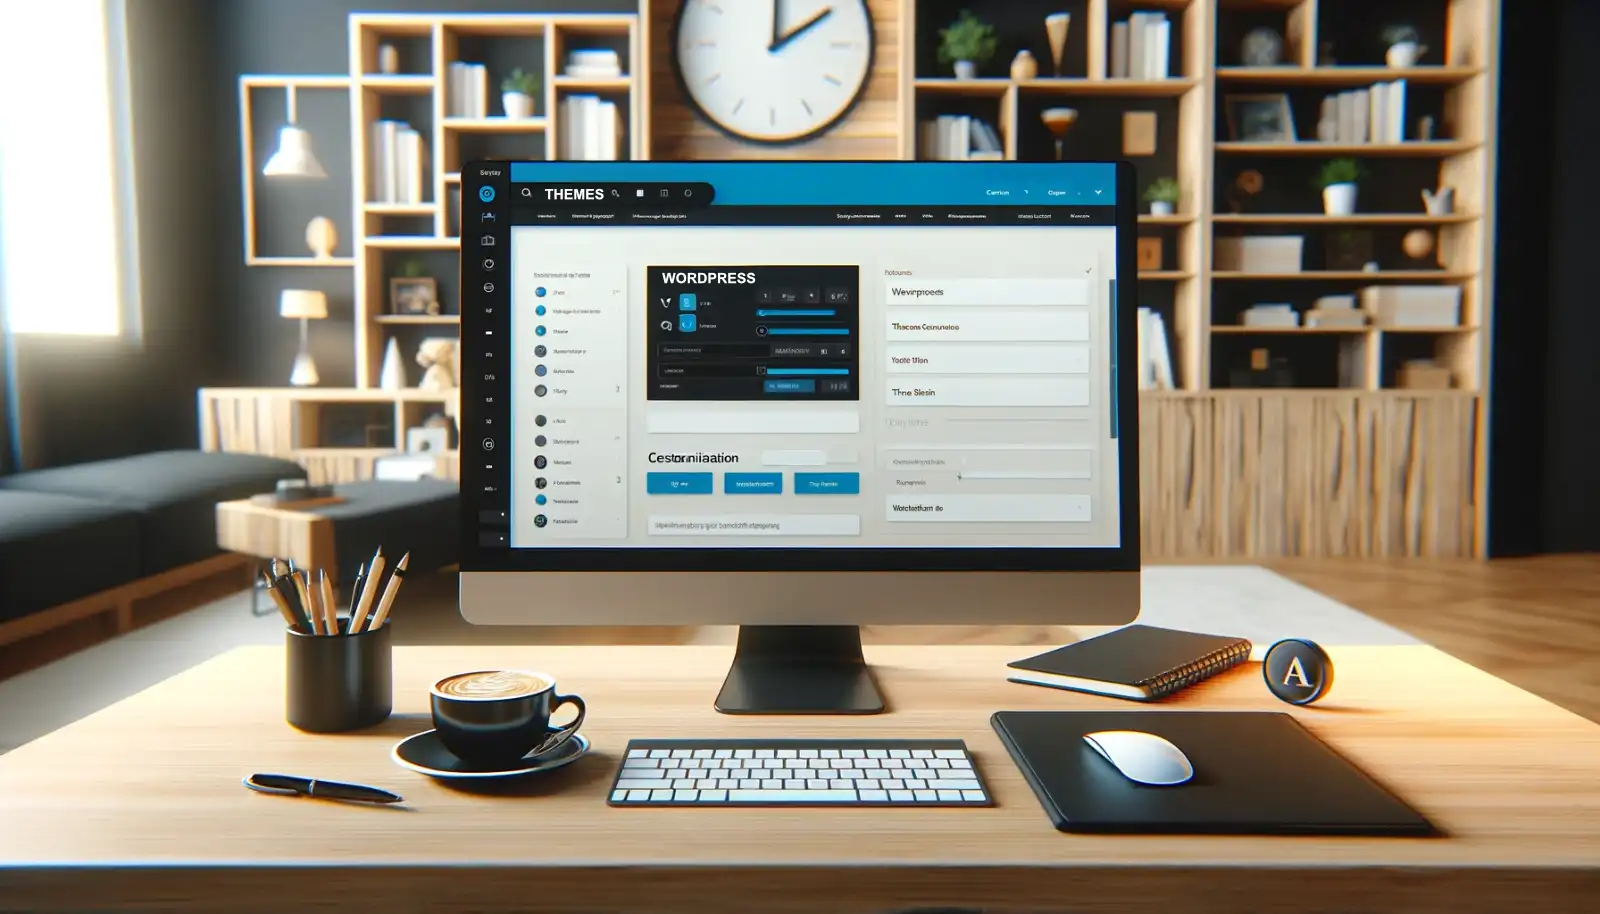
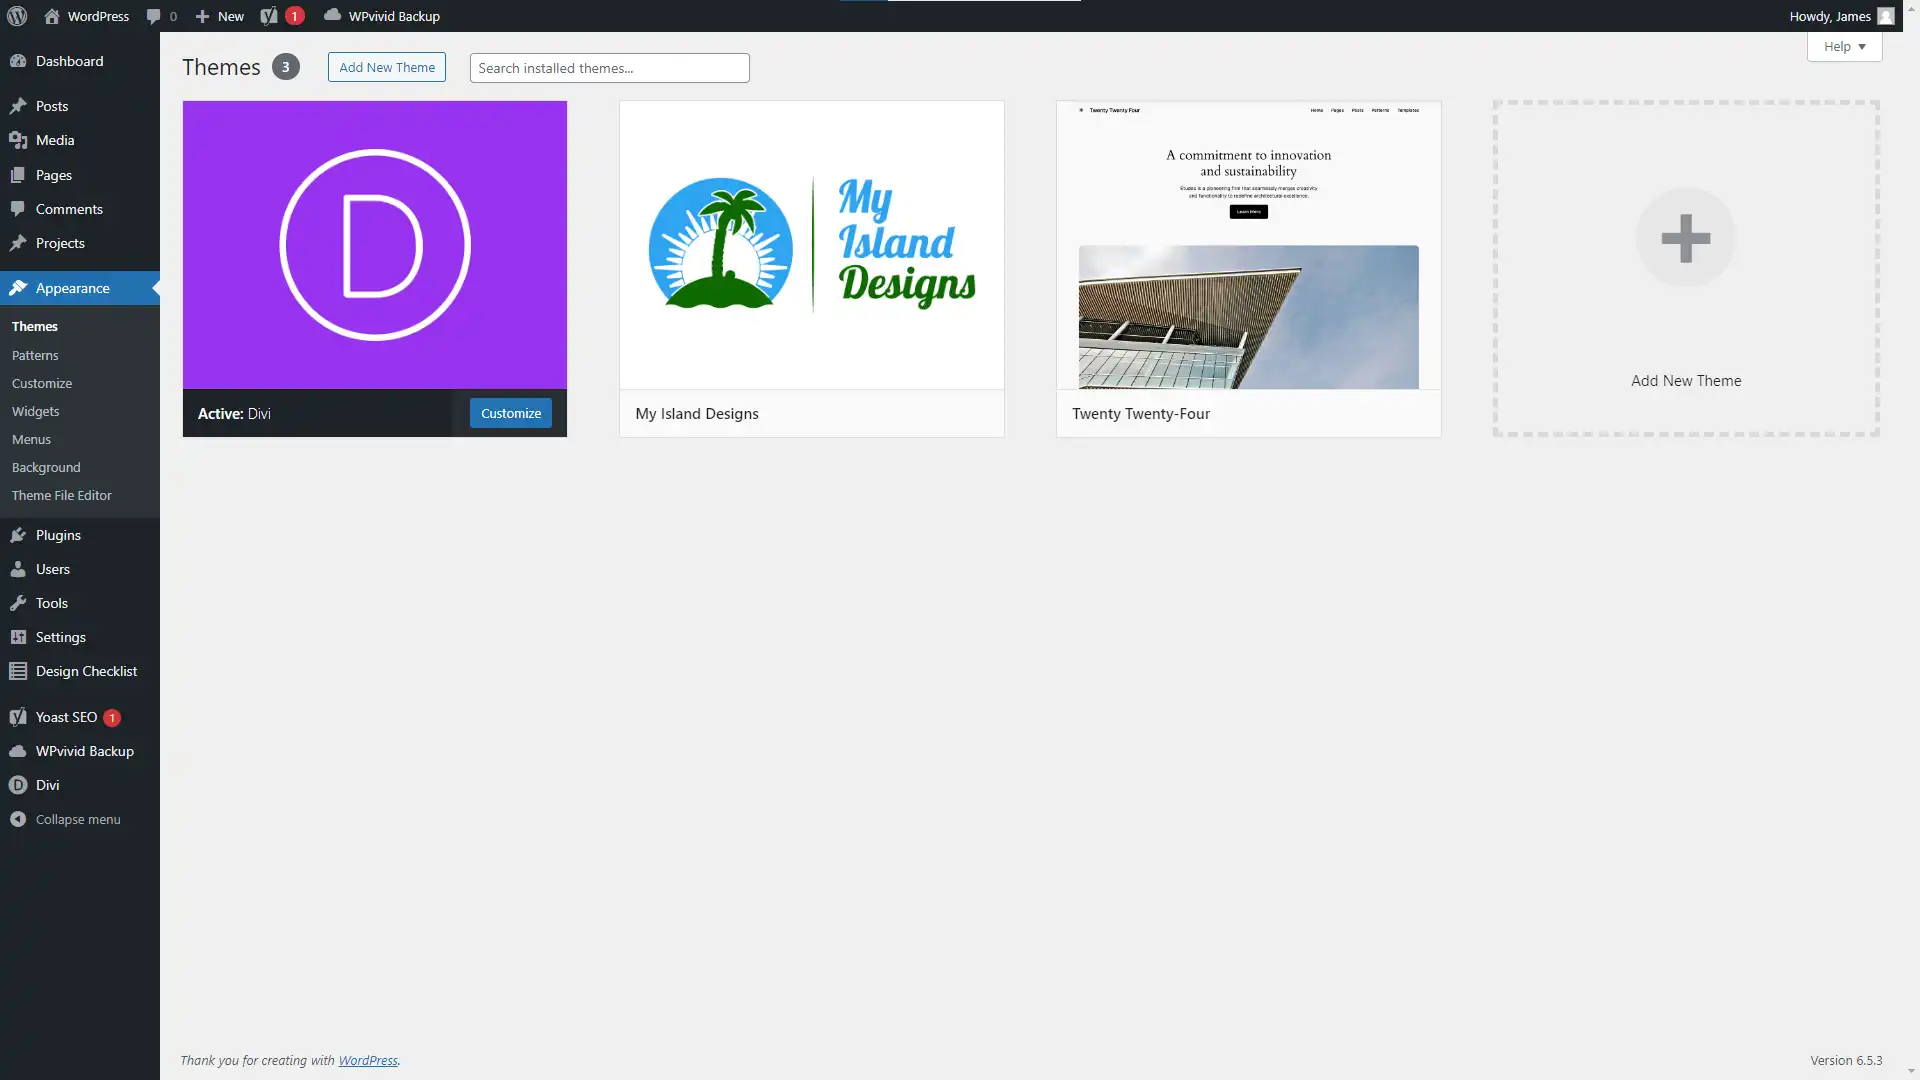
WordPress With Only Essential Plugins Activated

WordPress With Only Essential Plugins Activated

The Problem with Too Many Plugins

Although plugins have advantages, too many will slow down your website. Every plugin raises the possibility of conflicts and adds server requests, affecting your site’s performance and user experience.

Another worry is security. Older plugins can expose weaknesses in your site, increasing its attack vulnerability. The more installed plugins there are, the more dangerous malicious ones become.

Identifying Plugin Overload

Tell me whether you have too many plugins. Typical symptoms are slow loading times, regular crashes, and trouble controlling updates. Tools for performance monitoring and regular audits can help spot troublesome plugins and understand how many WordPress plugins are too many.

Tools such as GTmetrix or Pingdom can reveal information on your site’s performance and point out potentially problematic plugins. Regular evaluations guarantee that only the required plugins stay active.

Managing Plugins Effectively

Optimizing plugin use means prioritizing important plugins and deleting those that are superfluous or duplicated. Maintaining a safe and effective site depends critically on regular upgrades and compatibility checks.

Utilizing best practices—that is, avoiding duplicates and utilizing well-supported plugins—helps simplify your plugin administration. Keeping your plugins lean increases general site speed and lowers conflict risk.

Alternatives to Using Multiple Plugins

Research built-in WordPress capabilities and consider unique code solutions before including new plugins. Furthermore, multifunctional plugins help ease the setup of your site by lowering the overall number of plugins required.

Often, the necessity for extra plugins can be replaced by using built-in WordPress tools, such as native widgets or Gutenberg blocks. Custom coding offers designed answers free from the overhead associated with many plugins.

Case Study: A Real-World Example

Think of a site that was greatly slowed down by an overload of plugins. Once pointless plugins were found and deleted, the site’s security and performance improved greatly.

This case study emphasizes the need of deliberate management and frequent plugin checks. Site owners can improve efficiency and dependability by concentrating on key plugins and cutting duplicates.

Final Thoughts on Using too Many WordPress Plugins

Security and optimal site performance depend on maintaining a lean plugin arrangement and avoiding the pitfall of using too many WordPress plugins. Frequent assessments and good management techniques help guarantee that your WordPress website stays safe and functional.

Understanding the effects of too many plugins and using best practices will help you to build a quicker, more dependable PHP site with improved user experience.
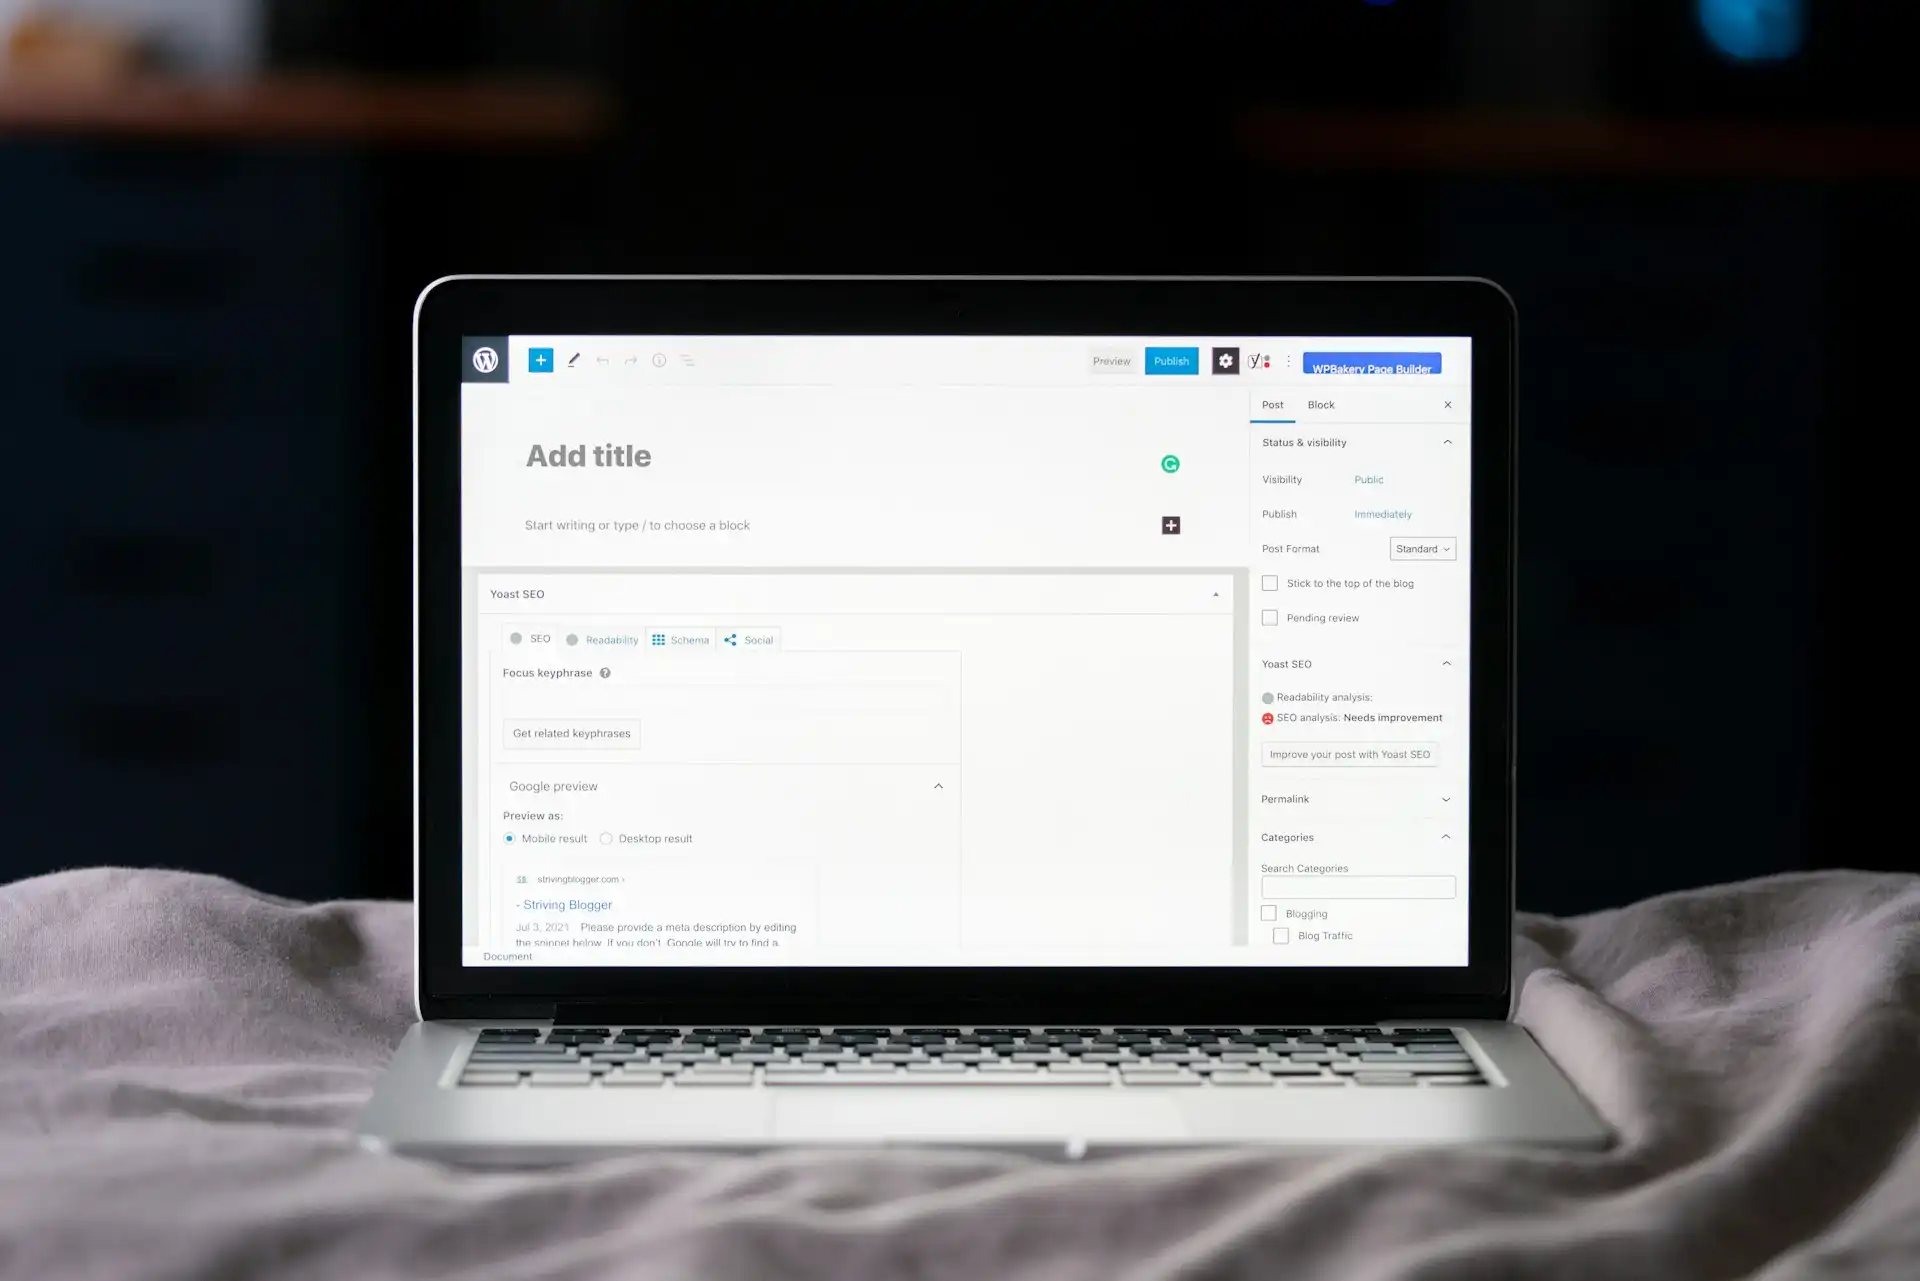
Fixing a WordPress Website With Slow Loading Times

Fixing a WordPress Website With Slow Loading Times

Call to Action: Improving Website Performance

Auditing your WordPress plugins right now will help you. If you require assistance organizing your plugins, see us for a free consultation. Our website has further tools and instructions.

See My Island Designs for tailored solutions and professional help. Our staff is here to assist you in improving your performance and maximizing your WordPress website.

To learn more about WordPress Plugins, visit WordPress.org.

Disclosure: You may find affiliate links to beneficial resources within this article. You won’t pay more when you use our link, but we’ll get a commission. This supports our content creation, and we only suggest products or services we use we genuinely believe in. Thank you for being so understanding!

Affiliate Links

James Turner

James Turner

Author/Copywriter

Are you looking for a tech blogger and sales copywriter who can turn your message into a powerful tool for persuasion? Look no further than James Turner, a seasoned professional with over 25 years of experience in the tech industry. With a deep understanding of how to craft words that connect with readers and drive results, James is a master of the art of persuasive writing.

Why Choosing the Best Web Hosting Company Matters in 2025

Find out why choosing the best web hosting company matters in 2025 to boost your site’s performance and skyrocket sales.

Hiring a Website Designer

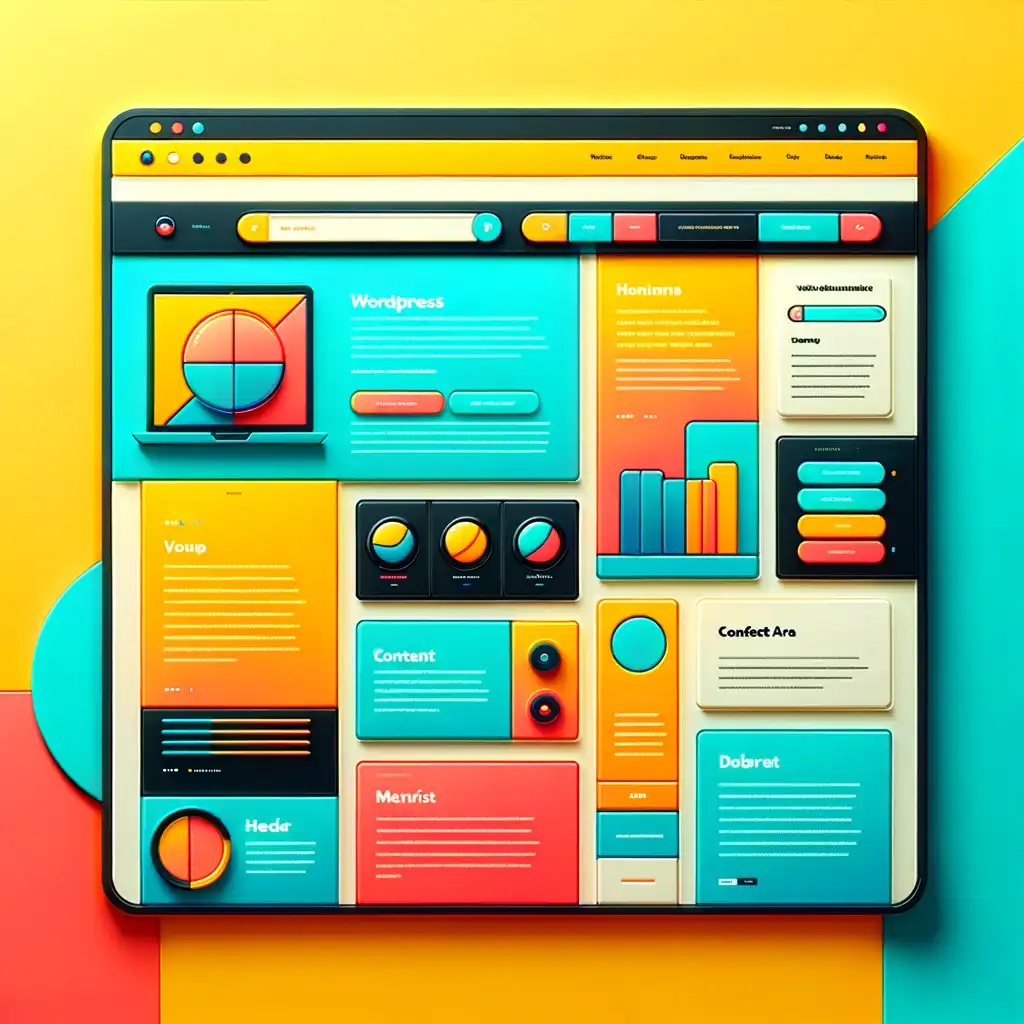
Hiring a website designer? Discover actionable tips, red flags to avoid, and how to find the right designer to create a website that grows your business.

How to Create a Landing Page Using WordPress

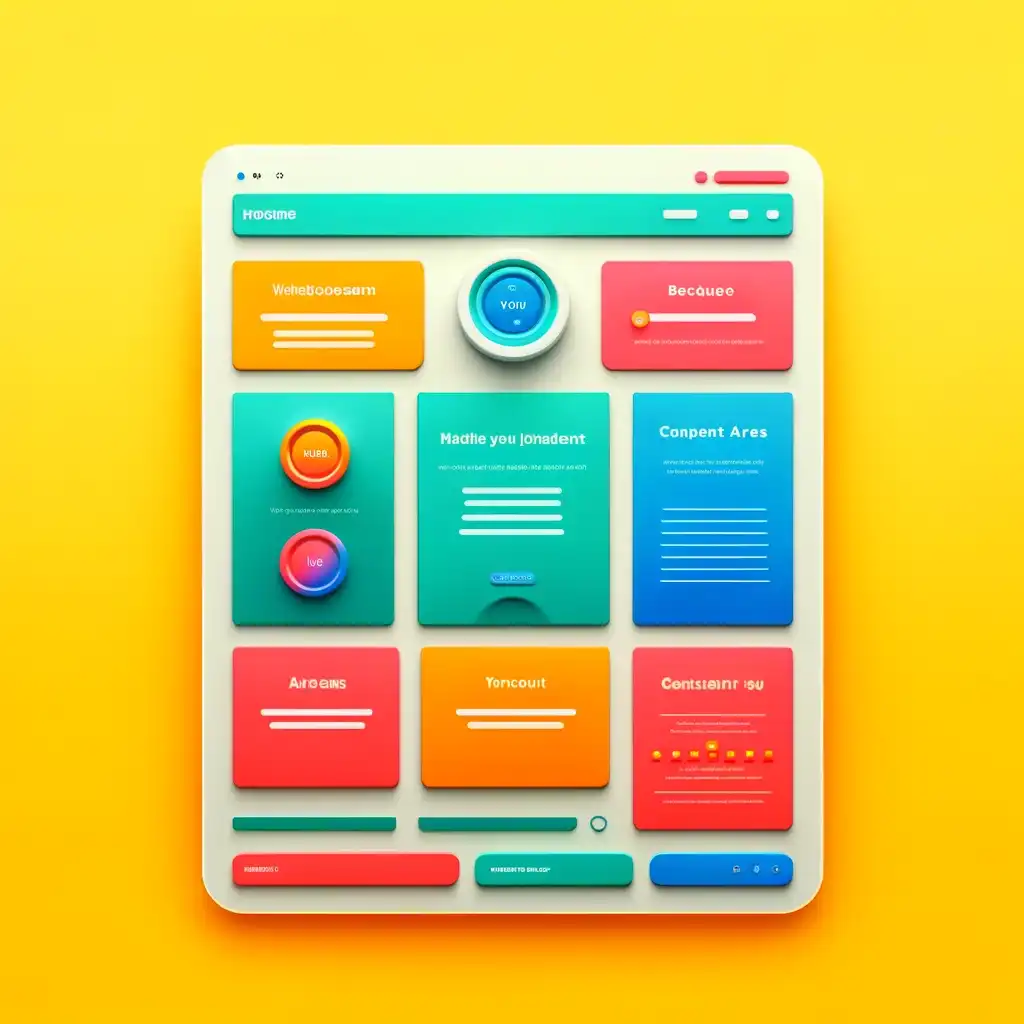
Follow our guide on how to create a landing page using WordPress and the built-in Block Editor, page builder plugins, or specialized themes.

Why Everyone Should Have a Personal Website

Why Everyone Should Have a Personal Website

Understanding why everyone should have a personal website is absolutely vital in today’s digital environment. A personal website is a useful tool for companies, influencers, and everyone trying to create their online presence. From controlling your personal brand to highlighting your professional successes, a personal website has several advantages. Let’s explore the reasons why everyone considers having their own online zone.

Question by Liana L.:

“Why do I need a personal website when I have social media profiles?”

Answer:

Social media profiles are excellent for connecting with friends and followers, but they have limitations. A personal website gives you complete control over your content and brand. It acts as a centralized hub where you can showcase your portfolio, blog about your expertise, and share updates without being at the mercy of changing algorithms.

“A personal website is your digital home. It’s where your personal brand lives and breathes.” – James Turner

Controlling Your Personal Brand

Controlling Your Personal Brand

Control Your Personal Brand

Having a personal website lets you manage your online character and impression. Your website is totally under your control, unlike social media profiles which are subject to shifting algorithms and restrictions. You can build it to capture your professional identity, beliefs, and personal style. This helps in creating a unique identity that stands out in the digital world according to TopResume.

You Need a Professional Email Address

You Need a Professional Email Address

Professional Email Address

Having a domain like yourname.com allows you to have a professional email address—such as you@yourname.com. This improves your own brand as well as looking more businesslike. It reveals that you are ready to invest on your internet presence and treat it seriously.

Showcase Your Work and Personal Achievements

Showcase Your Work and Personal Achievements

Showcase Your Work and Achievements

A personal website provides an online portfolio for professionals, artists, and freelancers whereby you may highlight your work, projects, and successes. It serves as a readily available digital resume for companies and possible customers. Including high-quality images, videos, and detailed case studies of your work can demonstrate your capabilities more effectively than a traditional resume as noted by experts.

Personal Blogging and Sharing Your Thoughts

Personal Blogging and Sharing Your Thoughts

Personal Blogging and Thought Leadership

Sharing your ideas, knowledge, and experiences is much enhanced by a personal blog on your website. It might draw a committed audience and help you become a thought leader in your profession. As highlighted by themuse.com, regularly updated material can also help your site’s SEO, so facilitating online finding of you.

Secure Your Online Identity

Ensuring a domain that corresponds with your name or personal brand helps you to own your internet presence. You can choose a domain that fits your demands from among the several domain extensions—.com,.name, and others that speak to your interests. Owning your domain name gives you power to shape the story and online persona.

Networking and Opportunities

A personal website is like a thorough digital business card. It has your social media links, personal contact details, and a means of direct outreach for anyone. This can present chances for networking, joint projects, and startup businesses. Recruiters and possible customers will find and get in touch with you here quite quickly.

Develop New Personal and Business Skills

Develop New Personal and Business Skills

Develop New Skills

Building and maintaining a personal website allows you to develop valuable skills such as web development, content creation, SEO, and digital marketing. These skills are highly sought after in today’s job market and can give you an edge in your professional life.

Enhance Your Online Presence

Enhance Your Online Presence

Enhance Your Online Presence

A professionally created personal website increases your internet profile and discoverability. By including pertinent keywords on your website and linking it to your social media accounts, you will raise your profile and draw more visitors.

Flexibility and Creativity

Your own website allows you the flexibility to express yourself creatively. Experimenting with several designs, layouts, and content types will help you find what most speaks to you and grabs your audience. This creativity can be really helpful in fields that respect originality and invention.

Professionalism and Credibility

A personal website enhances your professional picture by showing that you are a self-starter and committed to your internet presence. It also shows professionalism and credibility, which could be rather important for employers and possible customers to get a good first impression.
Link to All of Your Social Media Accounts

Link to All of Your Social Media Accounts

Integrating Social Media Accounts into Your Personal Website

Maximizing the advantages of your new website depends on your own brand developing a Social Media Strategy. This approach should lay out specific objectives, including growing website traffic, developing a community, or improving your online profile. First, decide which platforms your target audience uses and then often share items that fit your brand’s message, such as blog entries, updates, or behind-the-scenes peeks at your work. Respond to comments, join pertinent debates, and work with niche influencers to include your audience.

Add Social Media Buttons and Icons

Link straight to your profiles by including social media icons in the header, footer, or sidebar of your page. This facilitates visitors’ following of you on several platforms. Maintaining a consistent appearance and feel, use bespoke icons that complement the design of your website.

Embed Social Media Feeds and Widgets

Directly include live feeds from your social media accounts—that is, Instagram, Twitter, Facebook—into your website. Your site’s material stays fresh and interacts with visitors with your most recent entries this way. Show your newest tweets, Instagram photos, or Facebook updates using widgets. For this reason, many website builders and social media sites include simple widgets.

Add Social Sharing Buttons

Add social sharing buttons to your other materials, blog entries, and portfolio pieces. This invites guests to post your materials on their own social media profiles, therefore enhancing your visibility and reach. Using striking photos, titles, and descriptions, make sure your material is ready for social sharing. This increases the clickability and appeal of your material when it’s posted on social media.

Integrating Your Website into Social Media

Link Your Website in Social Profiles

Put your website URL in the bio or profile parts of every one of your social media profiles. This centers your online presence and generates traffic from your social media to your website. To inspire clicks, use calls to action in your social media biographies such as “Visit my website for more information” or “Check out my portfolio on my website.”

Cross-Promote Content

Share often on your social media platforms links to your blog entries, portfolio updates, and other online materials. This not only brings visitors to your website but also keeps your social media following active with your most recent creations. Talk about and connect to your social media profiles on your blog entries and website changes. For behind-the-scenes pictures, for instance, “follow me on Instagram.”

Use Social Media for Updates and Engagement

Announce fresh information or updates on your website using your social media channels. This keeps your readers updated and motivates them to visit your page in search of more specifics. Engage your social media followers by answering comments, distributing user-generated material, and joining pertinent discussions. This creates a community centered on your own brand and increases website interaction.

Inspirational Story About Having a Personal Website

Inspirational Story About Having a Personal Website

Inspirational Story

Clara was a graphic designer looking for business three years ago. She got lost in the flood of freelancers on social media sites despite her brilliance. She made the decision to publish her portfolio on a personal website using a blog to chronicle her path. Clara was first dubious since she worried about the technical details of site maintenance and building. She quickly set up her website, though, with the aid of a basic WordPress instruction.

Using her website, Clara shared thorough case studies of her projects, therefore highlighting not only her abilities but also the background of every design. Potential customers who were seeking for more than simply a beautiful picture found resonance in this approach since they wanted to know the creative process and the value Clara could offer to their initiatives.

Creating a Personal Blog Platform

Her blog developed as a forum for industry trends, graphic design advice, and even personal stories about her path. Clara’s real voice and worthwhile material drew a committed audience right away. She also combined her social media platforms with her website, including industry news and short updates on Twitter and behind-the-scenes images on Instagram.

A year later, Clara’s website became to be her main source of fresh business. Opportunities came to her; she was no longer chasing them. Her website’s SEO improved such that possible customers discovered her via search engines and returned often because of her interesting content. Knowing her work was in demand, Clara’s personal brand grew more robust and she could raise her charges.

Don’t Wait to Create Your Personal Website

Looking back, Clara wants she had started her website earlier. The technological challenges that first seemed difficult proved to be doable, and the advantages much exceeded the original work involved. “Just do it now,” Clara counsels anyone on the fence on building a personal website. Your website is your digital house; nothing else would allow you to highlight your special abilities and interact with your readers.

Do’s and Don’ts

Do’s

  • Do regularly update your website with fresh content.
  • Do integrate your social media profiles to enhance visibility.
  • Do optimize your website for SEO to increase discoverability.
  • Do use high-quality images and detailed case studies in your portfolio.
  • Do maintain a consistent personal brand across all platforms.

Don’ts

  • Don’t neglect your website after setting it up.
  • Don’t rely solely on social media for your online presence.
  • Don’t use low-quality images or generic descriptions in your portfolio.
  • Don’t ignore the importance of a professional email address.
  • Don’t forget to engage with your audience through blog comments and social media.

Frequently Asked Questions

Why do I need a personal website?

Unlike social media profiles, a personal website shows your work, allows you total control over your own brand, and improves your online presence.

How can a personal website help my career?

It serves as a digital portfolio whereby you may showcase your knowledge, abilities, and experience, so facilitating the finding and evaluation of you by possible companies and customers.

What should I include on my personal website?

Add a home page, a about me area, a portfolio, a blog, and a contact page. Make sure your website is navigable and captures your own identity.

How do I drive traffic to my personal website?

Share your material on social media, improve your website for search engines (SEO), and interact with your readers by means of blog entries and updates.

Is it expensive to create a personal website?

It doesn’t have to; you might start with reasonably priced choices, including cheap domain registration, and Linux based on Your needs will increase, so you can afford more sophisticated designs and features.

Final Thoughts on Personal Websites

Final Thoughts on Personal Websites

Final Thoughts on the Importance of Having a Personal Website

Creating a personal website shows a major commitment to your future. It lets you present your work, network with businesses and possible clients, and control your online profile. Knowing “why everyone should have a personal website” helps one to emphasize the relevance of this project.

Acting as a digital portfolio, your personal website professionally highlights your abilities, successes, and projects. It helps you to control your online profile so that the material people come across about you is accurate and captures your own brand. Besides, a personal website might improve your chances for networking. Companies, recruiters, and possible clients will find and get in touch with you more easily if you centralize your professional data.

Here’s a Quick Checklist to Get You Started:

  • Define Your Purpose: Whether your website is showcasing your portfolio, blogging, or offering a professional bio, decide what you wish it to accomplish.
  • Choose a Domain Name: Choose a domain name that captures your personal brand and is easily remembered.
  • Select a Hosting Service: Look for a dependable hosting provider within your budget and need.
  • Design Your Website: To produce an aesthetically pleasing website, either work with a professional designer or a user-friendly website builder.
  • Create Quality Content: Add excellent material to your site—an About Me page, portfolio, blog entries, and contact details among other things.
  • Optimize for SEO: Make sure your website is search engine friendly so that it will raise visibility.
  • Promote Your Site: Share your website on your social media channels, add it to your email signature, and bring up it in your professional networks.

Following this checklist will enable you to design a personal website that successfully highlights your skills and facilitates your contact with worthwhile prospects.

Disclosure: You may find affiliate links to beneficial resources within this article. You won’t pay more when you use our link, but we’ll get a commission. This supports our content creation, and we only suggest products or services we use we genuinely believe in. Thank you for being so understanding!

Affiliate Links

James Turner

James Turner

Author/Copywriter

Are you looking for a tech blogger and sales copywriter who can turn your message into a powerful tool for persuasion? Look no further than James Turner, a seasoned professional with over 25 years of experience in the tech industry. With a deep understanding of how to craft words that connect with readers and drive results, James is a master of the art of persuasive writing.

Why Choosing the Best Web Hosting Company Matters in 2025

Find out why choosing the best web hosting company matters in 2025 to boost your site’s performance and skyrocket sales.

Hiring a Website Designer

Hiring a website designer? Discover actionable tips, red flags to avoid, and how to find the right designer to create a website that grows your business.

How to Create a Landing Page Using WordPress

Follow our guide on how to create a landing page using WordPress and the built-in Block Editor, page builder plugins, or specialized themes.

The Benefits of Using a Child Theme in WordPress

The Benefits of Using a Child Theme in WordPress

Have you ever had all of your customizations lost by a WordPress theme update? Not losing those customizations is just one of the benefits of using a child theme in WordPress. Alternatively, maybe you wish to modify your website without modifying the main theme files. This is where a child theme comes into play. Changing your website with a child theme keeps the parent theme’s integrity and updateability intact. This post will cover how to make a child theme, its advantages, and why any WordPress user wishing to personalize their website should use one.

Question by Lenny J.:

“What exactly is a child theme and why should I use one?”

Answer:

A theme that is a child theme is one that takes on the features and design of a parent theme. Without sacrificing the ability to update the parent theme, you can add to or change the functionality of that parent theme by using a child theme. Maintaining your modifications and making sure your website is safe and current requires this.

WordPress Website Design With Child Themes

WordPress Website Design With Child Themes

A child theme is like a safety net for your WordPress customizations. It catches all your tweaks and changes, letting you update your theme without a worry.” – Anonymous

Website Designers Use Child Themes

Website Designers Use Child Themes

Why Use a Child Theme

A WordPress child theme can make website administration much easier. It guarantees that your site is secure and updatable even while you safely personalize it. Though you can make changes without affecting the parent theme, a child theme retains the features and appearance of its parent theme. We will go into the benefits of using a child theme in WordPress in this article, walk you through the process of creating one, and provide some tips on sophisticated customizations and practical uses.

Preserve Customizations

One of the main advantages of utilizing a child theme is maintaining your customizations. Changes made directly to a parent theme are lost upon theme updates. When you use a child theme, your adjustments are saved apart from the files of the parent theme. This guarantees that, throughout upgrades, you won’t lose your settings, and your website will continue to look and work precisely the way you want.

Ensure Easy Updates

A child theme also has the important benefit of making updates simple. Sustaining security and compatibility with the newest WordPress features needs to keep your parent theme current. Update the parent theme with a child theme and do not have to worry about losing any of your adjustments. This split keeps your website’s distinctive appearance and functioning while enabling you to take advantage of the most recent security patches and enhancements.

Steps to Create a WordPress Child Theme

Steps to Create a WordPress Child Theme

Person Designing a Child Theme for WordPress

Person Designing a Child Theme for WordPress

WordPress Dashboard on a Large Monitor

WordPress Dashboard on a Large Monitor

How to Create a Child Theme

Preparation

Making a child theme requires careful planning ahead of time. To begin, select a parent theme that satisfies your requirements for both design and operation. Make sure you can access the theme files, then back up your live website. This will protect your website should something go wrong during the building phase.

Create the Child Theme Directory

Creating a child theme starts with configuring the child theme directory. Find your WordPress theme directory, usually at /wp-content/themes/. Give your child theme its own folder and a name that captures its connection to the parent theme. Should your parent theme be named “ParentTheme,” for instance, you might name your child theme folder “ParentTheme-child.”

Create the Stylesheet

Your child theme will then require a stylesheet to be created. Make a new file named style.css in the child theme directory. Your child theme’s CSS rules will be found in this file. Put the header data listed below at the top of the stylesheet:

/*
Theme Name: ParentTheme Child
Theme URI: http://example.com/parenttheme-child/
Description: Child theme for the ParentTheme
Author: Your Name
Author URI: http://example.com
Template: ParentTheme
Version: 1.0.0
*/

This header information tells WordPress that this is a child theme and links it to the parent theme.

Enqueue the Parent and Child Theme Stylesheets

You must enqueue the stylesheets in order to guarantee that the styles of the parent theme are loaded together with those of the child theme. Open functions.php in the child theme directory. To enqueue both the parent and child theme stylesheets, add the following code to this file:

<?php
function my_theme_enqueue_styles() {
    $parent_style = 'parent-style'; // This is 'ParentTheme-style' for the Parent Theme.
    wp_enqueue_style($parent_style, get_template_directory_uri() . '/style.css');
    wp_enqueue_style('child-style',
        get_stylesheet_directory_uri() . '/style.css',
        array($parent_style),
        wp_get_theme()->get('Version')
    );
}
add_action('wp_enqueue_scripts', 'my_theme_enqueue_styles');
?>

This code ensures that both the parent and child theme stylesheets are loaded properly.

Activate the Child Theme

You must lastly turn on your child theme. Locate Appearance > Themes on your WordPress dashboard. You ought to see your new child theme mentioned. To set up the child theme on your website, click the Activate button. Now that your site uses the child theme, you can update the parent theme without any problems and your adjustments will be preserved.

Working on a WordPress Website

Working on a WordPress Website

Real-World Examples

Using a child theme has proven advantageous to many WordPress users. One company website, for example, discovered that upgrades to their parent theme frequently destroyed its bespoke CSS and JavaScript. They were able to maintain their changes even when significant revisions for the parent theme were made by moving to a child theme. This prevented regular revisions and guaranteed their website stayed attractive and useful.

Common Mistakes to Avoid

A child theme can be created and used with a few typical errors to be aware of:

  • Not Enqueuing Styles Properly: Your child theme may not display correctly if you do not enqueue styles appropriately. Always make sure you load the parent and child stylesheets using the appropriate functions.
  • Editing Parent Theme Files: Parent theme files should not be edited directly. To keep all of your adjustments throughout upgrades, do them inside the child theme.
  • Not Backing Up: Before making any big changes, like adding a child theme, always back up your website. In the unlikely event that something goes wrong, this guarantees that you can fix your site.
    Tailored Features

Advanced Customizations

A child theme allows you to make sophisticated changes that can greatly improve your website. You may, for instance, edit template files, add custom functions, and more easily include third-party plugins. Utilizing the potential of a child theme, you can build a very bespoke website that is unique from the competition and still allows you to change and grow with time.

Woman Designing a WordPress Website

Woman Designing a WordPress Website

Inspirational Story

Lydia H. here, and I still clearly recall the first time I realized the benefits of using a child theme in WordPress. Every time I upgraded my parent theme, I would lose hours of adjustments for my small company website. At my breaking point, I came upon the idea of child themes.

I made up my mind to give it shot. I started my first child theme by following a thorough tutorial. The process went more quickly than I had thought, and the outcomes were instantaneous. I felt more in control of my website and I kept all of my modifications.

Growing along with my company was my website. I started playing with increasingly complex modifications. I revamped certain parts, included new features, and even integrated plugins all inside the safety net of my child theme. I would update the parent theme without second thought every time a new version was made, knowing that my modifications were secure.

My WordPress Child Theme Saves Me a Lot of Time

As I consider my path, I am so appreciative of the finding of child themes. They have allowed me to change my website with my business and saved me many hours of rework. Spend some time making a child theme if there is one piece of advise I would provide to any WordPress user. For a substantial return, the work is little.

Using child themes sooner would have been my first choice if I could have done anything different. It is priceless the piece of mind they give. I implore anyone who is apprehensive to enter the realm of child themes to do so. Every stage of the road, the community support and resources are available to help. I promise you won’t be sorry.

Here Are Some Recommendations:

  • Start with a clear plan of what you want to customize.
  • Always back up your site before making changes.
  • Don’t be afraid to experiment with advanced customizations.
  • Utilize available resources and guides for support.
  • Stay updated with the latest WordPress developments to keep your site secure and functional.

For managing my website, using a child theme has changed everything. Enabling you to build a website that really captures your vision is just as important as maintaining customizations. One of the resources that helped me get started was Building a WordPress Website for Your Business, which was very helpful.

Happy customizing and enjoy the trip!

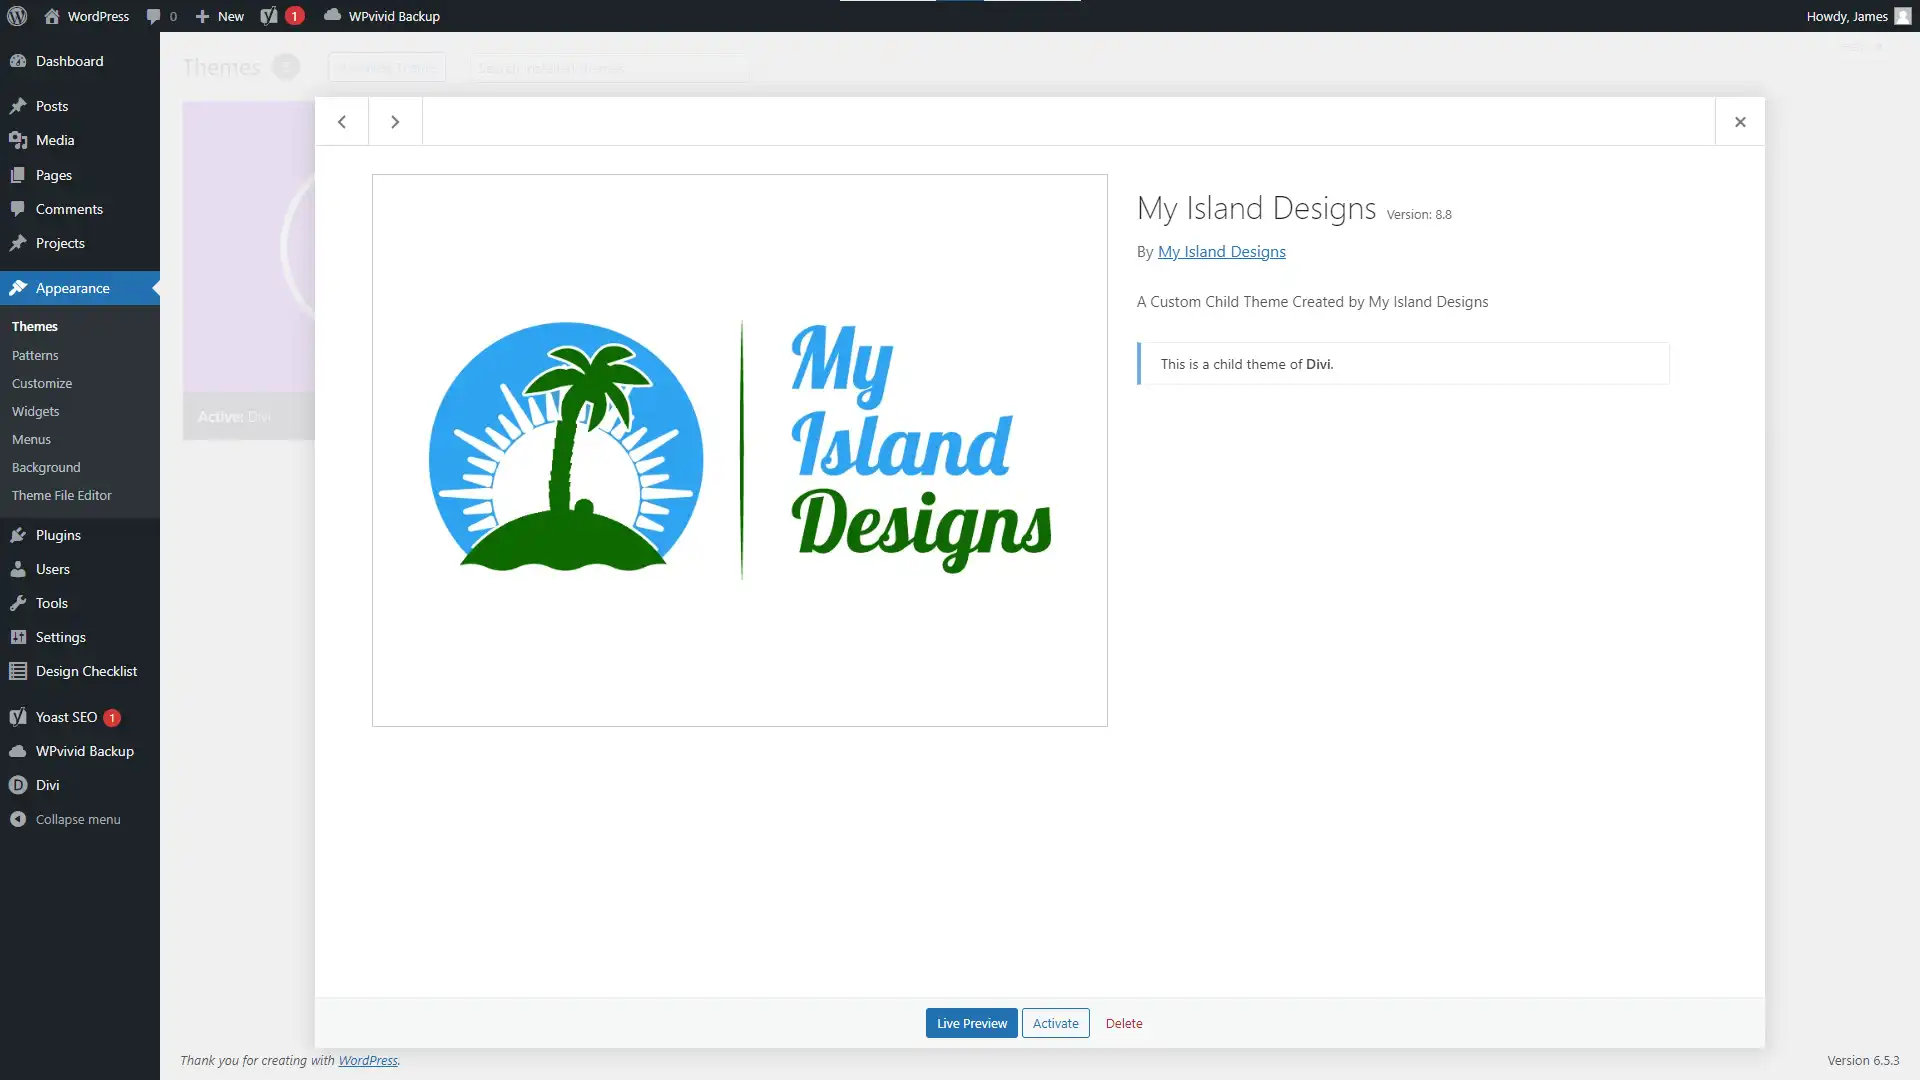
My Island Designs WordPress Child Theme

My Island Designs WordPress Child Theme

WordPress Child Theme FAQs

  • Q: What is a child theme in WordPress?
    A: A child theme is a theme that inherits the functionality and styling of another theme, called the parent theme. It allows for customizations without altering the parent theme files.
  • Q: Why should I use a child theme?
    A: Using a child theme helps preserve your customizations and allows for easy updates to the parent theme without losing those customizations.
  • Q: How do I create a child theme?
    A: Creating a child theme involves creating a new directory, adding a stylesheet, and enqueuing the parent and child theme stylesheets. Detailed steps are provided in this article.

Do’s and Don’ts

Do’s

  • Create a child theme for any significant customizations.
  • Always back up your website before making changes.
  • Regularly update your parent theme for security.
  • Use proper enqueueing for styles and scripts.
  • Leverage online resources for guidance.

Don’ts

  • Don’t make direct changes to parent theme files.
  • Don’t forget to test your child theme in a staging environment.
  • Don’t overlook the importance of regular updates.
  • Don’t ignore compatibility issues with plugins.
  • Don’t hesitate to seek help from the WordPress community.
WordPress Themes and Child Theme

WordPress Themes and Child Theme

Final Thoughts on the Benefits of WordPress Child Themes

Creating and using a child theme in WordPress is a best practice that offers numerous benefits, including preserving customizations and ensuring easy updates. By following the steps outlined in this article, you can set up a child theme and unlock advanced customization capabilities for your site. Remember to back up your site, use proper enqueueing techniques, and stay informed about the latest WordPress developments. You may also want to consider reading this article on Why Hiring a Website Designer is Cheaper Than Doing it Yourself.

Here’s a quick checklist to recap the key points:

  • Create a child theme directory and stylesheet.
  • Enqueue the parent and child theme stylesheets correctly.
  • Activate your child theme through the WordPress dashboard.
  • Preserve customizations and facilitate easy updates.
  • Utilize resources and community support for advanced customizations.
Designing Custom WordPress Child Themes

Designing Custom WordPress Child Themes

WordPress Website Design Using Blocks

WordPress Website Design Using Blocks

WordPress Child Theme Resources

For more information on creating and using child themes, check out these resources:

Disclosure: You may find affiliate links to beneficial resources within this article. You won’t pay more for using our link, but we’ll get a commission. This supports our content creation, and we only suggest products we genuinely believe in. Thank you for being so understanding!

Affiliate Links

James Turner

James Turner

Author/Copywriter

Are you looking for a tech blogger and sales copywriter who can turn your message into a powerful tool for persuasion? Look no further than James Turner, a seasoned professional with over 25 years of experience in the tech industry. With a deep understanding of how to craft words that connect with readers and drive results, James is a master of the art of persuasive writing.

Why Choosing the Best Web Hosting Company Matters in 2025

Find out why choosing the best web hosting company matters in 2025 to boost your site’s performance and skyrocket sales.

Hiring a Website Designer

Hiring a website designer? Discover actionable tips, red flags to avoid, and how to find the right designer to create a website that grows your business.

How to Create a Landing Page Using WordPress

Follow our guide on how to create a landing page using WordPress and the built-in Block Editor, page builder plugins, or specialized themes.

Top Free Resources for Stunning Website Images

Top Free Resources for Stunning Website Images

In the current digital era, drawing visitors to your website and providing an exciting user experience depend heavily on the quality of the photos. Finding the ideal photos, meanwhile, might be difficult without going over budget. For this reason, we have produced a list of the top free resources for stunning website images. These sites provide a plethora of excellent, royalty-free photos that you can use to improve and really make your website pop.

Question from Lennox J.:

“Why are high-quality images so important for a website?”

Answer:

A website cannot function without good graphics since they greatly improve user experience. They draw in visitors, get the point over fast, and even raise the search engine optimization of your site. Visitors to your website are more inclined to interact with and stay longer when they see well selected, high-resolution photos. Moreover, search engine results heavily rely on faster load times, which are facilitated by optimized images.

High Quality Photos Website Designs

High Quality Photos Website Designs

“A picture is worth a thousand words, but a stunning website image is worth a thousand clicks.” – Unknown

Benefits of Using High Quality Images

Benefits of Using High Quality Images

The Impact of High-Quality Images on a Website

A website can either be made or broken by its photos. Importantly, they are involved in:

  • User Engagement: Eye-catching pictures draw viewers in and maintain them there for longer.
  • Conveying Messages: Images can efficiently and swiftly convey complicated concepts.
  • SEO Benefits: Search engine rankings take into account load times, which are improved by optimized pictures.
  • Conversion Rates: By improving user experience generally, visually appealing images can raise conversion rates.

Research indicates that compared to websites with lesser-quality images, high-quality photographs get noticeably more views and interaction. Images are a potent tool to make your website stand out in the very competitive internet market.

Free Pictures and Images for Web Designers

Free Pictures and Images for Web Designers

Unsplash Pictures And Videos

Unsplash Pictures And Videos

Pexels Free Photos and Videos

Pexels Free Photos and Videos

Free Image Resources

Unsplash

Logo Unsplash Pictures and Videos

A large collection of absolutely free high-resolution photos may be found on Unsplash. The site is renowned for the group of gifted photographers that upload amazing images in a variety of genres. You can find abstract, technological, or natural photos on Unsplash. Finding the ideal image for your website is made simple by the well chosen collections and user-friendly layout.

Explore Unsplash for High-Quality Images

Pexels

Logo Pexels Pictures and Videos

One other excellent site for free photos is Pexels. Given its extensive selection of images and even free films, it is a flexible option for website owners and one of the top free resources for stunning website images. Finding what you need is simple because the photos are arranged well and searchable by keywords. A daily inspiration area on Pexels also features current and popular photos.

Discover Pexels for Stunning Free Photos

Pixabay

Logo Pixabay Pictures Music and Videos

A million or more free images, drawings, and vector graphics are available on Pixabay. The platform’s large library and intuitive search capabilities are well-known. Because Pixabay’s photos are Creative Commons licensed, they are free to use for both personal and commercial projects. As such, it is a great option for small business owners and entrepreneurs.

Check Out Pixabay for Diverse Media

Burst (by Shopify)

Burst Shopify Logo

Shopify-powered free stock image website Burst caters to small company owners and entrepreneurs. It provides excellent pictures that are quite helpful for online stores. Burst offers a variety of categories to help you build a polished and attractive web presence, from lifestyle photos to business-related photos.

Visit Burst for Professional Photos

Steps to Optimize Images for Web Use

Steps to Optimize Images for Web Use

Tips for Using Images

Optimization

Optimization of your photos is crucial to make sure they improve your website without making it slower. Save quality while compressing your photos with programs like TinyPNG. Reduced file sizes speed up loads, which benefits both user experience and search engine optimization for your site.

Formats

Making the correct image format selection is essential. Because JPEGs balance file size and quality, they work well for photos. For translucent pictures, like logos, PNGs work well. A better option for many image kinds is WebP, a more recent format that provides great compression and quality.

SEO

More is involved in image SEO optimization than just compression. Use succinct file names, and in the alt text and captions, incorporate pertinent terms. This raises the visibility of your website in search results by enabling search engines to comprehend the content of your photos.

Accessibility

Make sure all people can view your photographs by include alt text that explains what’s inside of them. Particularly crucial is this for screen reader users. Alternate text increases SEO in addition to accessibility.

Consistency

Keeping the visual style of your website constant supports your brand identification. Select photos that go with the general look and color scheme of your business. Images used consistently give a polished and coherent appearance.

Person Editing Images

Person Editing Images

Inspirational Story

From Struggling Blogger to Visual Content Guru: The Journey of Amelia P.

I’m Amelia P., and I want to share my experience going from being a struggling blogger to becoming an expert in visual content. I had no concept how crucial photos were when I initially started my blog. I questioned why I wasn’t receiving much interaction with my text-heavy blogs.

I once came into a really beautiful blog. Reading the material was made much more pleasurable by the engaging pictures. I came to see I had to improve. But I wasn’t rich enough to buy pricey stock images as a rookie. I first came upon free image sites like Pexels and Unsplash around that time.

Using Stunning Photos in My Blog Posts

These sites allowed me to start posting with excellent photos. It was instantaneous change. My engagement rates skyrocketed as my followers began to remark on how much they loved the images. I also discovered how critical image optimization is to better SEO and faster load times. Search engine rankings for my website increased as a result, which also enhanced user experience.

I now wish I had discovered these resources sooner. Don’t undervalue the power of a strong image, is my straightforward piece of advise to novice bloggers and website owners. Keep a consistent style, optimise your photos, and use free materials sensibly. I’m pleased of my blog’s visual appeal now, and I’m always looking for fresh approaches to make my writing even more interesting.

Spend More Time Optimizing Your Images

Should I make any changes, I would spend more time at the outset studying about image optimization. Later on, knowing the technical details will save you a great deal of trouble. Look for fresh and unusual photo sources as well. You can have an advantage by remaining current with the ever changing digital scene.

So to all of you content producers out there, welcome the visual aspect of your endeavors. It might significantly alter how your audience views and engages with your material. Cheers to good blogging!

Frequently Asked Questions About Free Pictures

Frequently Asked Questions About Free Pictures

Do’s and Don’ts

Do’s

  • Use high-quality, relevant images
  • Optimize images for web use
  • Provide descriptive alt text
  • Maintain a consistent visual style
  • Explore multiple free image resources

Don’ts

  • Use low-resolution or blurry images
  • Ignore image optimization
  • Neglect accessibility features
  • Overuse stock images without customization
  • Forget to check licensing terms

FAQs

What are the best formats for web images?

JPEGs are great for photos, PNGs for images with transparency, and WebP for high compression and quality.

How can I optimize images for SEO?

Use descriptive file names, include alt text with keywords, and compress images to improve load times.

Where can I find free high-quality images?

Platforms like Unsplash, Pexels, Pixabay, and Burst offer a wide range of free, high-quality images.

Why is image optimization important?

Optimized images improve load times, enhance user experience, and boost search engine rankings.

How do I ensure my images are accessible?

Provide alt text that accurately describes the content of the images, making them accessible to users who rely on screen readers.

Final Thoughts on Finding the Best Free Photos

Final Thoughts on Finding the Best Free Photos

Final Thoughts on Free Resources for Stunning Website Images

It changes everything to have excellent photos on your website. These top free resources for stunning website images can let you improve the visual attractiveness of your website without going over budget. For the best user experience and search engine optimization, never forget to optimize your photos, keep them consistent, and give accessibility a first priority.

Checklist:

  • Explore free image resources like Unsplash and Pexels
  • Optimize images for faster load times
  • Use appropriate image formats (JPEG, PNG, WebP)
  • Include descriptive alt text for SEO and accessibility
  • Maintain a consistent visual style

Disclosure: You may find affiliate links to beneficial resources within this article. You won’t pay more for using our link, but we’ll get a commission. This supports our content creation, and we only suggest products we genuinely believe in. Thank you for being so understanding!

Affiliate Links

James Turner

James Turner

Author/Copywriter
Are you looking for a tech blogger and sales copywriter who can turn your message into a powerful tool for persuasion? Look no further than James Turner, a seasoned professional with over 25 years of experience in the tech industry. With a deep understanding of how to craft words that connect with readers and drive results, James is a master of the art of persuasive writing.

Why Choosing the Best Web Hosting Company Matters in 2025

Find out why choosing the best web hosting company matters in 2025 to boost your site’s performance and skyrocket sales.

Hiring a Website Designer

Hiring a website designer? Discover actionable tips, red flags to avoid, and how to find the right designer to create a website that grows your business.

How to Create a Landing Page Using WordPress

Follow our guide on how to create a landing page using WordPress and the built-in Block Editor, page builder plugins, or specialized themes.

How to Choose the Perfect Color Scheme for Your WordPress Site

How to Choose the Perfect Color Scheme for Your WordPress Site

A WordPress site’s color design can make all the difference in drawing in and keeping users. Let’s examine how to choose the perfect color scheme for your WordPress site by developing an audience-resonant, accessible, and visually pleasing color scheme.

Question by Millie H.:

How can I ensure that my chosen color scheme enhances the readability and accessibility of my WordPress site?

Answer:

High contrast between text and backdrop colors will improve readability and accessibility. You may find out if the colors you choose adhere to accessibility guidelines using tools like WebAIM’s Contrast Checker. Consider color blindness as well. Use simulators like Coblis to test how your website appears to color-blind users and make any required changes. This guarantees a wider audience for your website and improves user experience for all.

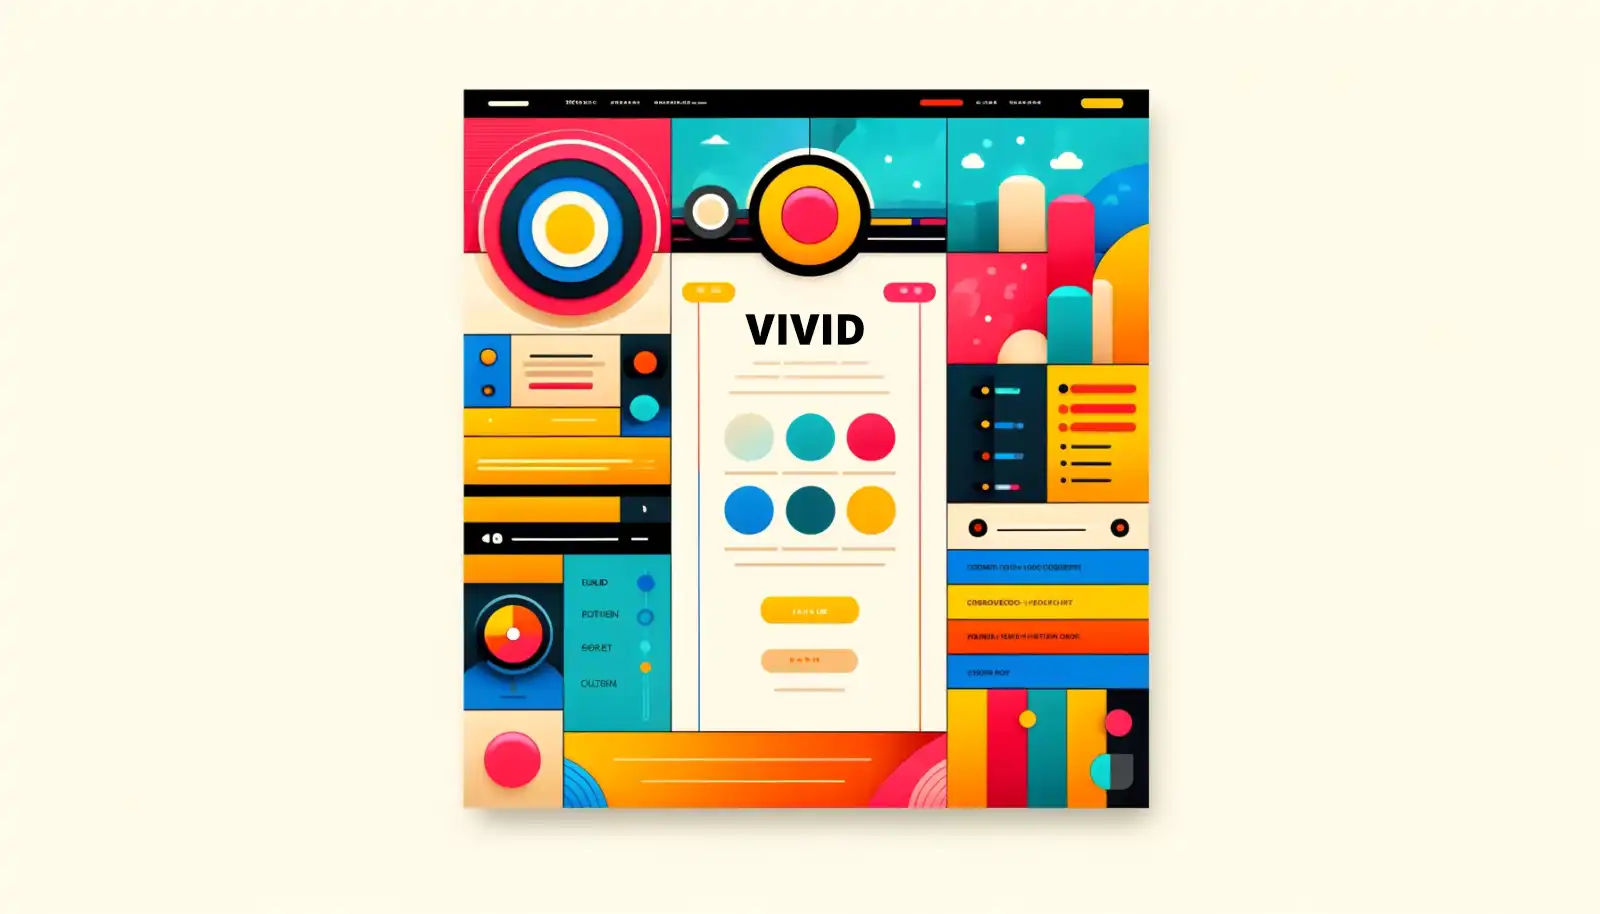
WordPress Website Mockup Using Vivid Colors

WordPress Website Mockup Using Vivid Colors

Mockup of a Colorful Website

Mockup of a Colorful Website

“Choosing the right colors for your website is like picking the perfect outfit for a first date. You want to impress without overwhelming – make a lasting impression without blinding anyone with neon!” – James T.

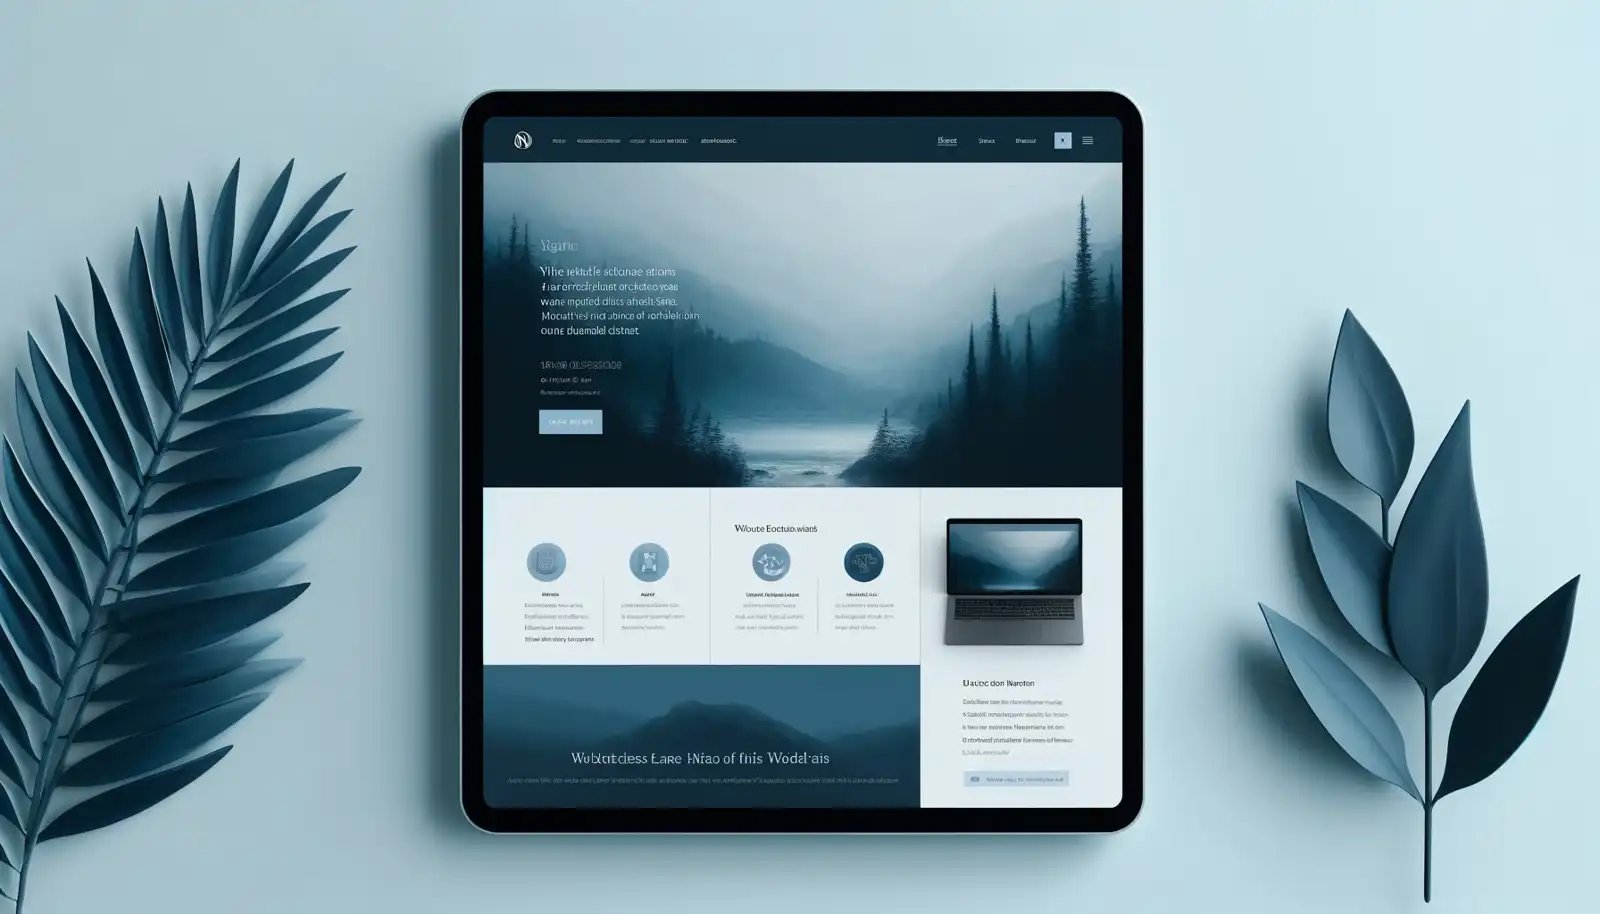
Calm and Professional WordPress Website Mockup

Calm and Professional WordPress Website Mockup

Why a Cohesive Color Scheme Matters

Your website looks better, but a well-considered color scheme does more. It enhances user experience, helps create your brand identity, and may even affect the feelings and behaviors of your visitors. A jumbled and amateurish color scheme on your website can turn off potential customers, so keep on reading for more tips on how to choose the perfect color scheme. To learn more about the colors and styles that are popular check out this article on Latest Trends in WordPress Website Design.

Understanding Color Psychology

Colors profoundly influence our feelings and actions. The following briefly summarizes the ways in which various colors might affect your audience:

Red: Passion and Urgency

From love and passion to haste and excitement, red can arouse powerful feelings. Call-to-action buttons benefit much from it, but use it wisely to prevent overloading your visitors.

Blue: Trust and Calm

Blue is often associated with professionalism, serenity, and trust. It’s a common option for corporate websites and brands that wish to project reliability.

Green: Growth and Health

Green represents health, growth, and nature. It’s a great option for sites that emphasize wellness and the environment.

Yellow: Optimism and Energy

Bright and cheerful, yellow can be difficult to read on displays. Highlights or accents with it might bring a little optimism without taxing the eyes.

Mockup of a WordPress Website With Vivid Colors

Mockup of a WordPress Website With Vivid Colors

Tools for Creating Color Palettes

Though it can be intimidating to start from scratch, there are a few free resources that can assist:

Adobe Color

Create and save color palettes, investigate popular schemes, and even extract colors from an image with Adobe Color. All levels of designers will find it to be a potent tool.

Coolors

A further great program for creating color schemes is Coolors. Designing palettes is made simple with its user-friendly interface, which allows you to do so fast.

Testing Your Color Scheme

Test your colors for accessibility and readability as soon as you’ve selected them. Here are some pointers to make sure your color palette appeals to everyone.

Check Contrast Ratios

Make sure the background and text colors contrast enough. This increases readability and opens your website to those with visual impairments. Test and modify your color selections with tools like WebAIM’s Contrast Checker.

Consider Color Blindness

A sizable percentage of people suffer from color blindness in some capacity. See how your website appears to color-blind visitors with tools like Coblis, then make the required changes.

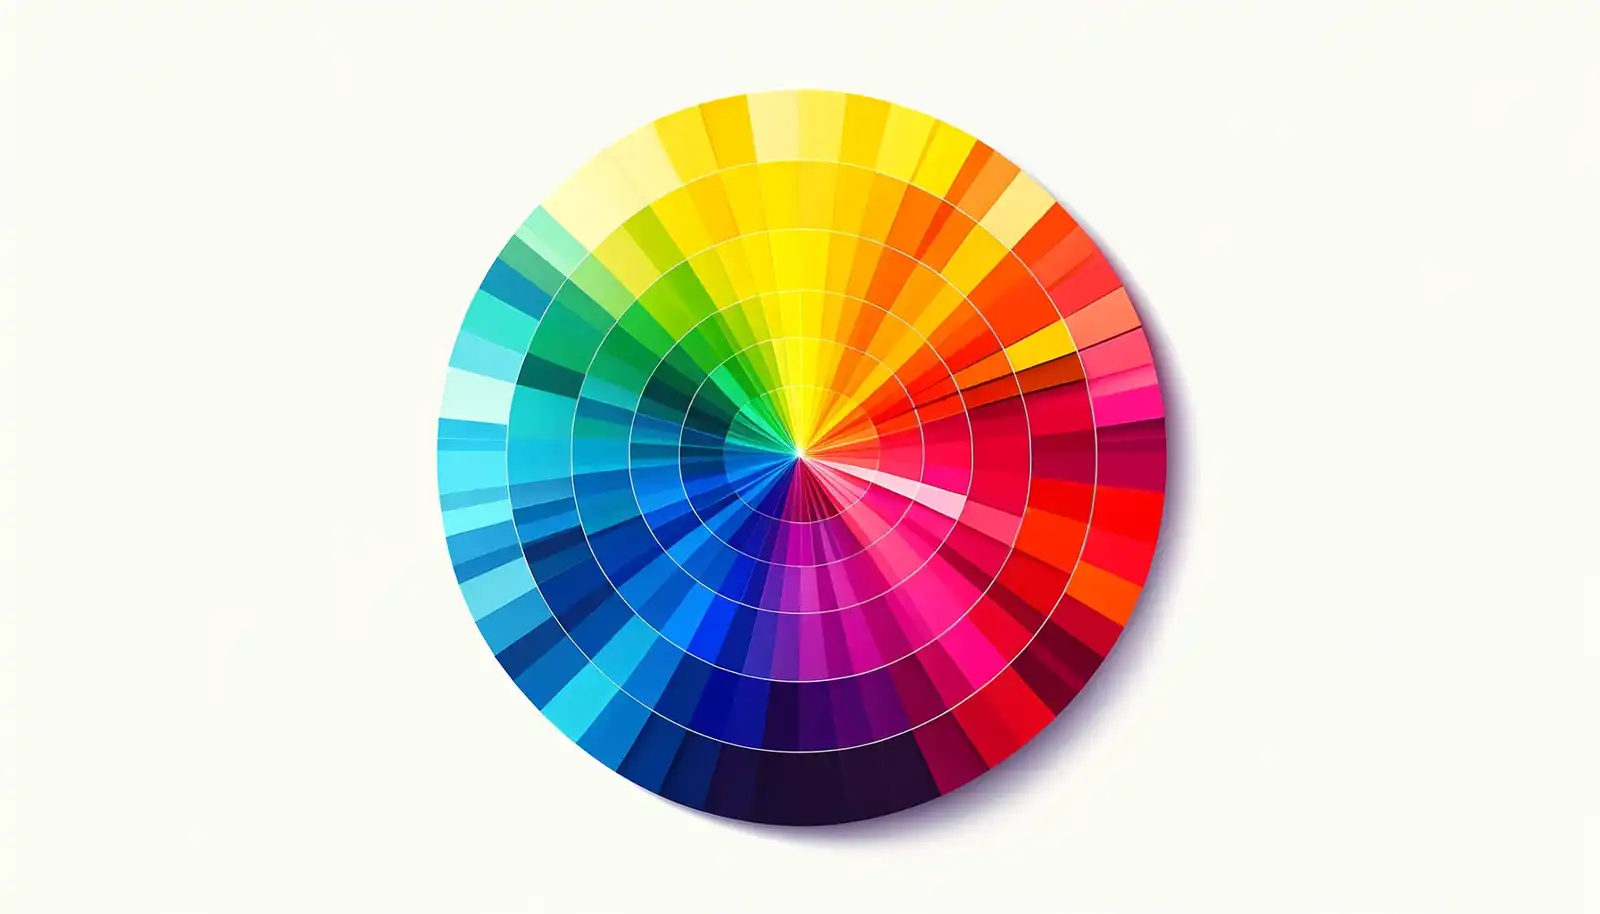
Vibrant Color Wheel Showcasing a Variety of Hues

Vibrant Color Wheel Showcasing a Variety of Hues

Final Thoughts on How to Choose the Perfect Color Scheme

Selecting the ideal color scheme for your WordPress website involves more considerations than only aesthetic ones. It’s about building an audience-resonant, easily navigable, and polished website. Your website may look fantastic and work well if you use the correct tools, understand color psychology, and test your decisions.

Disclosure: You may find affiliate links to beneficial resources within this article. You won’t pay more for using our link, but we’ll get a commission. This supports our content creation, and we only suggest products we genuinely believe in. Thank you for being so understanding!

Affiliate Links

James Turner

James Turner

Author/Copywriter
Are you looking for a tech blogger and sales copywriter who can turn your message into a powerful tool for persuasion? Look no further than James Turner, a seasoned professional with over 25 years of experience in the tech industry. With a deep understanding of how to craft words that connect with readers and drive results, James is a master of the art of persuasive writing.

Why Choosing the Best Web Hosting Company Matters in 2025

Find out why choosing the best web hosting company matters in 2025 to boost your site’s performance and skyrocket sales.

Hiring a Website Designer
Hiring a website designer? Discover actionable tips, red flags to avoid, and how to find the right designer to create a website that grows your business.
How to Create a Landing Page Using WordPress

Follow our guide on how to create a landing page using WordPress and the built-in Block Editor, page builder plugins, or specialized themes.

My Island Designs

Pin It on Pinterest